This guide will share with you the principles and methods to use AI tools to write the best possible CV for yourself, and also how to simplify the process of creating new CVs customised for other job roles.
We’ll also include some ready-made AI prompts for CV creation which you are welcome to use, change, customise, and tinker with at your leisure.
CONTENTS
- Which AI tools should I use to write my CV?
- Step 1: Find the keywords with AI
- Step 2: Define the input
- Step 3: Get AI to write your responsibilities and achievements
- Step 4: Get AI to write your skills
- Step 5: Get AI to write your personal statement
- Step 6: Finalize the CV and add the keywords
- Bonus Step: Save your material for future customisation
- FAQ
- Can I use AI to write my cover letter?
- Can I use AI to write my CV?
- Is there an AI that writes CVs for free?
Which AI tools should I use to write my CV?
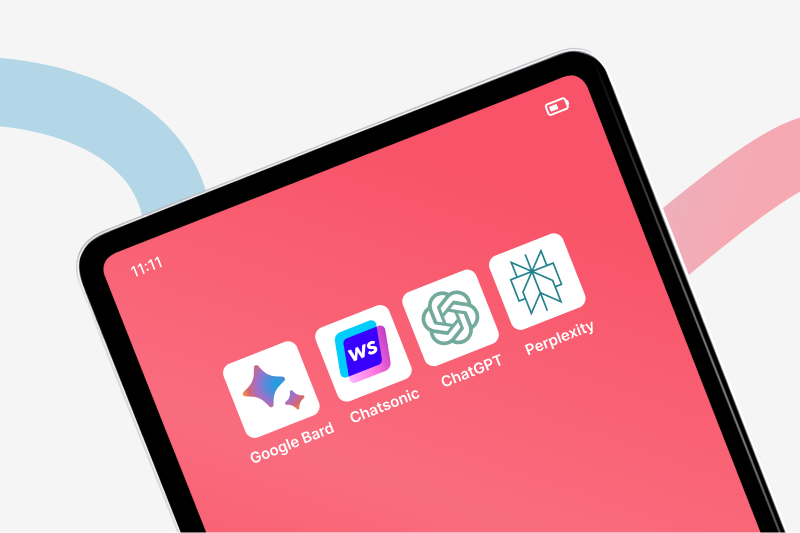
You can assist yourself in writing your CV with any freely-available large language model (LLM) of choice. The most popular and famous is, of course, ChatGPT. But adequate prompts will work equally well with other systems, like Google Bard, Chat by Copy.ai, Chatsonic, or Perplexity AI.
While there exist a variety of other AI tools that are specifically designed to craft CVs, they normally require paid subscriptions. We will briefly touch on them in the FAQ, but for this guide we will focus on AI tools that you can use for free, such as those listed above.

Step 1: Find the keywords with AI
Nowadays, before your CV lands on the desk of a human being, it will likely pass through an applicant tracking system (ATS).
The ATS is software that will scan your CV for job-relevant keywords, and either reject it or pass it on for further consideration, depending on whether it finds those words.
Thus, for any job you’re looking to apply for, the first thing you should ask your AI is this:
PROMPT #1: For a job vacancy as a [DESIRED JOB], come up with 25-30 keywords that might be relevant for an applicant tracking system (ATS) scanning applicant CVs.
Your chatbot will return a list of words (or sometimes combinations of words). Naturally, you should complement this process with your own research and make sure that the keywords are appropriate for the job you’re applying for. You can do this by reading job descriptions online and making sure that the terms they’re using appear in your list, and by looking for qualified blogs and LinkedIn articles discussing keywords.
Once you have the final list of keywords, these should all appear in your CV (we’ll discuss how to integrate them in Step 6 of this guide). You must repeat this step for every different job position you choose to apply for, as the keywords for, say, a Marketing Analyst and a Marketing Manager will of course be different.
Step 2: Define the input
The next part is to lay out the information you’ll feed the AI. This will be your basic personal info, the job titles you held in the past, and your academic qualifications.
First, write down a blank list with the following categories: a.) Name. b.) City and country of residence. c.) Telephone number. d.) Email address. e.) Link to LinkedIn profile. f.) Languages spoken (with level). g.) Job titles and employer (most recent first). h.) Academic qualifications and school/institution (highest first).
Depending on your circumstances, you may want to add a few more categories in there. For example, in some countries it may be proper form for your CV to also include your date of birth, while certain jobs will require extra sections (software developers will also need a ‘tech stack’ section, for example).
Fill in the list. For jobs held and academic qualifications, remember to include the dates when these were held/obtained. You don’t need anything more than these raw details.
Note that your final list should include the original categories, meaning it should look like this:
- NAME: John Smith
- CITY: Berlin, Germany
…and not like this:
- John Smith
- Berlin, Germany
That’s because clear, explicit categories will make it easier for the AI to process the information.
Step 3: Get AI to write your responsibilities and achievements
From the prior list, copy and paste the job titles that you held, and feed them to the AI together with this prompt:
PROMPT #2: Here is a list of my past jobs. For each of these job titles, think of the responsibilities and achievements that would most likely come with them. Then, write a 2-3 sentence description of those responsibilities and achievements, which I can use when listing my job experiences in my CV. Try to come up with things that are as relevant as possible to the position of [DESIRED JOB].”
Before giving the AI this prompt, you want to “normalise” your job titles as much as possible. If your job title used to be “Local Operations Agent & Coordinator” but you were effectively working as a tour guide, just write “Tour Guide”. You can change it back to your original job title after the AI has finished its draft.
Let the AI come up with a description of your responsibilities / achievements, and then remove any inaccuracies and add anything that was missing. Unless you had some very vague job titles, the text that the AI returns will often be mostly accurate, because the responsibilities that come with a specific job tend to resemble each other across companies.
The important exception here is quantifiable achievements (sales increased by X%, worked in X different markets, X satisfied customer reviews, etc.). These hard numbers are crucial and you should always include them in this section manually, either by working them into the prompt in the first place or by adding them to the final text later.
Do NOT make the mistake of letting the AI write responsibilities/achievements that were never yours, and then just running with them in hopes of impressing a recruiter. As we already argued in our blog on how to write the perfect software developer CV, lying in your curriculum never pays off, and is much more likely to get you in trouble.
If the text returned by the AI isn’t satisfactory for one or more job positions, ask the AI to rewrite it, but this time add to the prompt those responsibilities/achievements you want to see in the text.

Step 4: Get AI to write your skills
An important part of your CV is your Skills section. This is how you can get AI to generate that section, quite literally from scratch.
First, feed this prompt to your AI tool:
PROMPT #3: Give me a list of 10 different hard skills and 5 different soft skills that would be highly desirable for a candidate applying for a job as [DESIRED JOB].
Be as specific and detailed as possible with your desired job – don’t just type “Data Scientist”, instead write “Junior Data Scientist specialized in AI algorithms working for a startup”. In fact, you’ll get an even better result if you feed the AI the full job description for the real position you’re applying for.
The AI will come up with a list of the most sought-after skills for your position. Since you’re (hopefully) applying for jobs you’re qualified for, you should possess most of those. Strike out from the list those skills that you do not possess, and keep those that you do. If you have any skills that the AI did not mention, add them as well.
You now have your list of skills!
Step 5: Get AI to write your personal statement
For many, the personal statement (or personal blurb, or professional summary, as it is sometimes called) is the hardest bit to write in their CV.
Good news! AI can do almost all the work for you here.
Take the list of skills and that of past jobs (inclusive of responsibilities/achievements) which you have already generated, add your academic qualifications, and feed them back to the AI with this prompt:
PROMPT #4: Based on the following list of skills, past jobs and academic qualifications, write a personal statement of 70-80 words to put at the top of my CV, describing me in a way that makes me a great candidate for a [DESIRED JOB] position.
While you’re here, you can ask the AI to generate a personal statement for your LinkedIn profile as well. It’s the same exact type of text after all, but for LinkedIn you can push the word count up to 120.
If you’re not happy with the first result, remember that you can always amend the prompt and ask the AI to rewrite it.
Step 6: Finalize the CV and add the keywords
Time to put the finishing touches! This bit actually works much better if you use two separate prompts, as LLMs usually return better results with two separate commands, rather than with a single command asking them to do two different things.
First, give the AI this prompt:
PROMPT #5: Organize the following information in the form of a professional CV. The CV must be no longer than 1-2 pages, so summarise or excise the text if that is necessary to make it fit. Here is the information for you to work with:
At the bottom of this prompt, copy and paste your personal details, your personal statement, your list of skills, your academic qualifications, and your job titles inclusive of responsibilities and achievements. Much of this, of course, is material that the AI itself has generated!
The LLM will generate a CV for you. Now, go back to the list of keywords you generated at the beginning, and plug it into the following prompt (make sure you’re in the same chat window that generated the CV):
PROMPT #6: Now rewrite the contents of that CV in such a way that the following list of keywords is naturally integrated into the various sections:
And then watch the magic happen. The AI will return the final text for your CV, inclusive of all the keywords needed to satisfy an ATS. Revise and refine it (occasionally the AI may ‘forget’ a few of the keywords, so look out for that), then paste it into your favourite CV template – and send that application!

Bonus Step: Save your material for future customisation
It’s entirely possible that you’ll be applying for different types of jobs, of course, which means that your CV will have to be customised accordingly.
Unless these jobs are really very different from each other, the majority of the CV – your skills and experience section, for example – will stay unchanged. Only a few subtle additions or subtractions to your professional achievements will be necessary, and a revision of the personal statement and the necessary keywords.
Save each part of your CV – your list of skills, your responsibilities/achievements, etc. – separately. When applying for a different position, ask the AI for a new list of keywords, repeat the relevant prompts (amending the blank boxes with your new “[DESIRED JOB]”) to generate updated material, and create a new final document as described in Step 6 above.

The above process will return a top-notch CV, but you may still have some questions lingering. Let’s go through them one by one.
Can I use AI to write my cover letter?
Yes! Feed your finalized, polished CV to the AI, and give it this prompt:
PROMPT #6: I am applying for a job as [DESIRED JOB]. Using the information in the CV pasted below, write a professional cover letter for my application.
As always, feel free to tweak this prompt to give it a twist of your own, and make sure you revise and edit whatever the AI produces.
Can I use AI to write my CV?
Companies generally do not object to the use of AI to write CVs. As long as you remember to always revise, refine and check for accuracy what the LLM generates, you can use any tool you like.
Is there an AI that writes CVs for free?
At this time, specialized tools for AI-powered CV-generation, such as MyPerfectResume, Zety, and Kickresume, have to be paid for. Usually priced between €5-10 per month, some have trial periods which let you test them for free for a limited time.
***
And that will be it for today! If you enjoyed this article, check out our guide on how to write the perfect software developer CV for more tips and suggestions.


